|
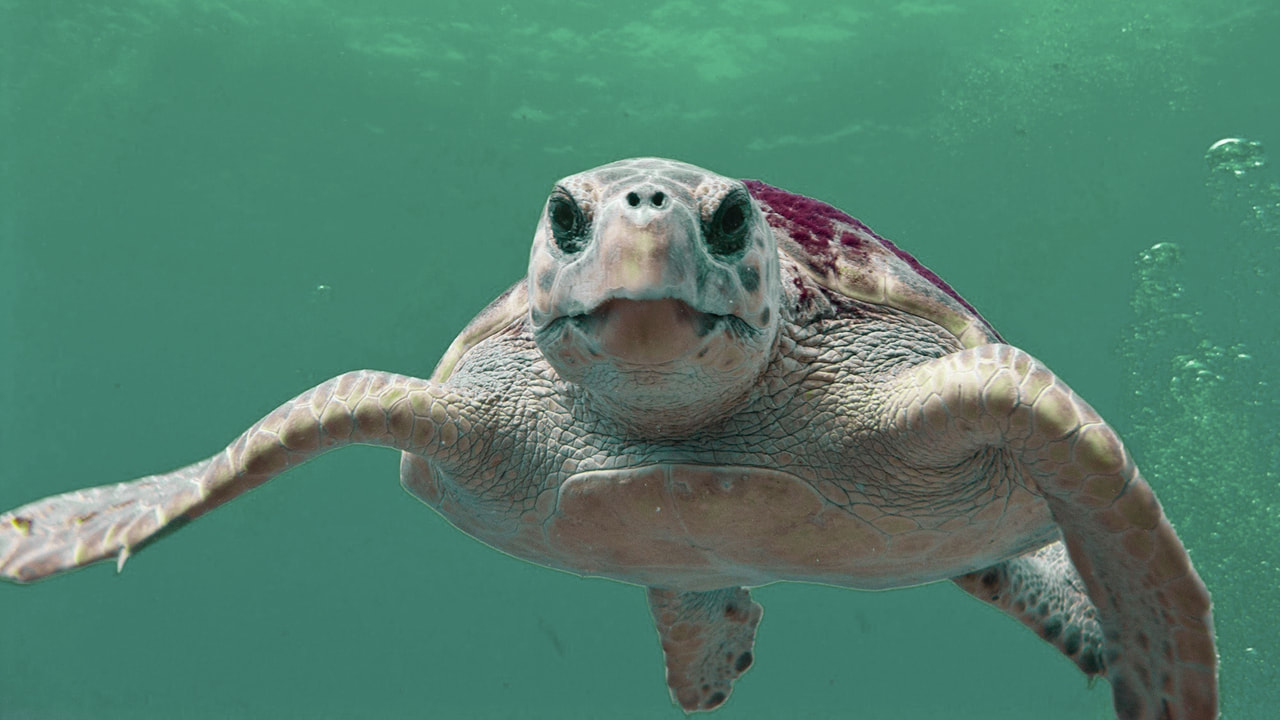
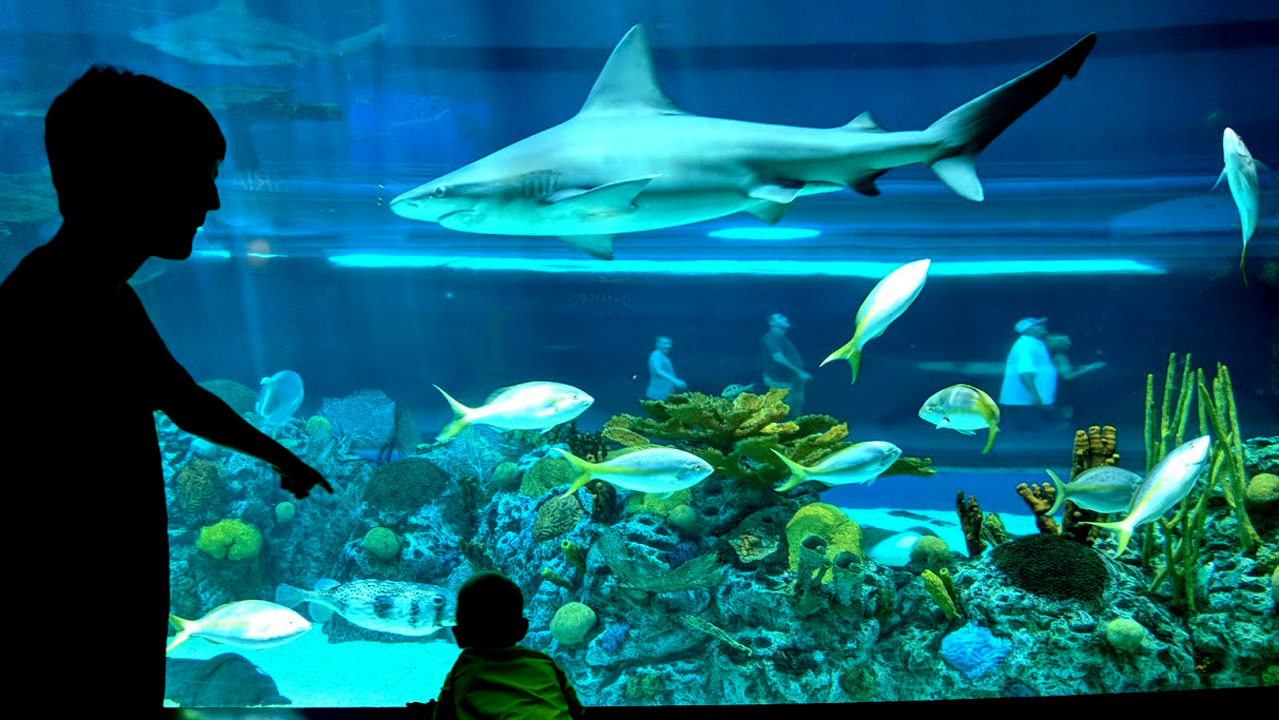
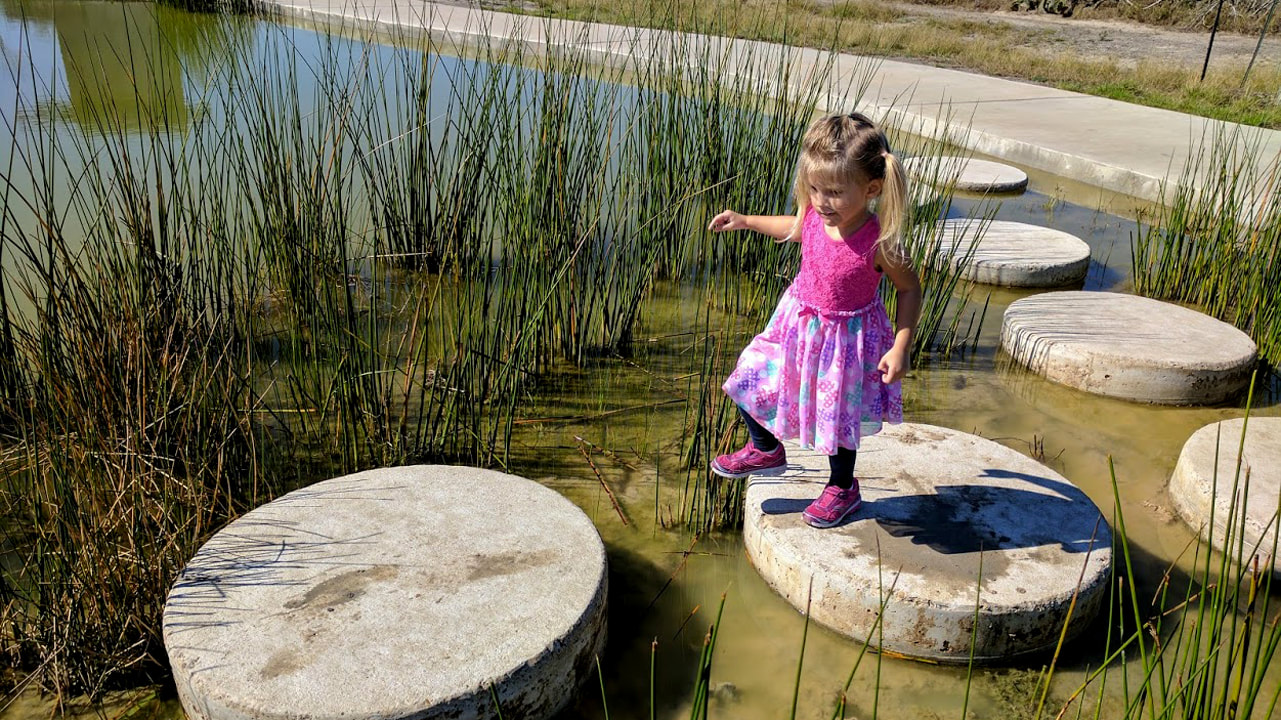
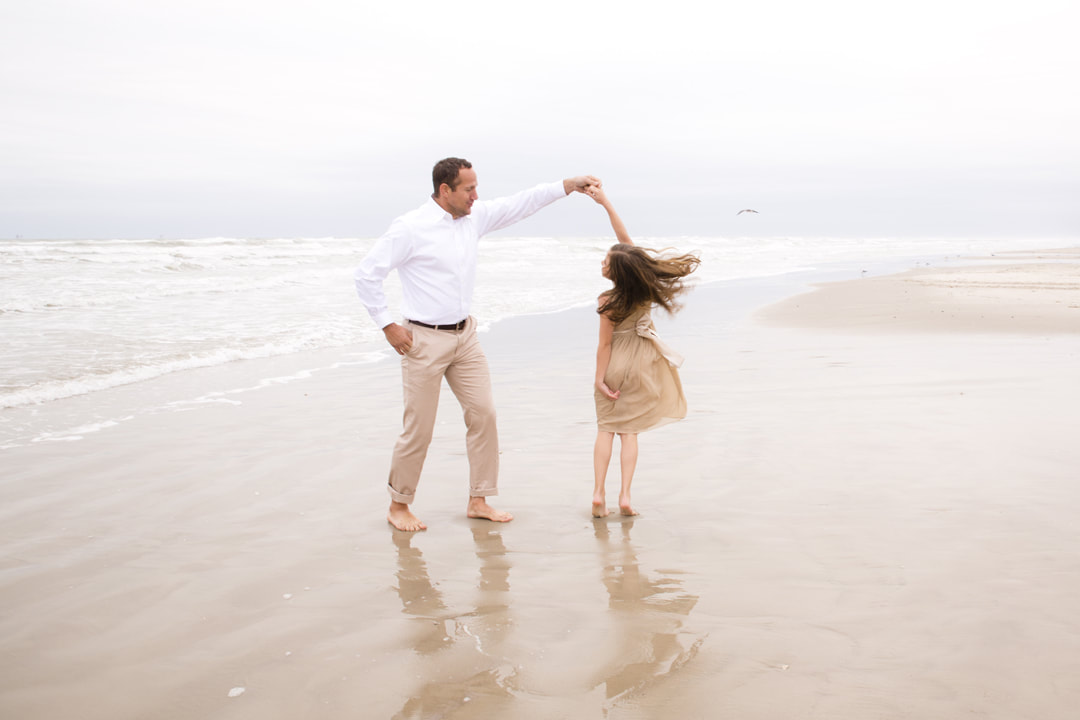
Corpus Christi has a lot of fun things to do – some can be a bit pricey, while others are absolutely FREE! You can look online and see all the city of Corpus has to offer, but I want to share the things that I KNOW to be a lot of fun, and aren’t just hype and fanfare. The number one (FREE) thing on my list is a huge draw for most – the beach! Padre Island National Seashore is amazing! With miles and miles of beautiful beach and water that gets beautifully warm in the summer, you can’t beat this destination. My own kids LOVE playing in the sand and getting their feet wet in the ocean, even when it’s cold outside. Commonly you will see pelicans fishing and flying in formation and sea gulls trying to snatch your snacks. Less common, you might see sting rays cruising the edge of the water or a sea turtle heading across the sand. Speaking of the Kemp’s Ridley sea turtles… this is another MUST if they happen to be releasing hatchlings while you’re visiting (if you’re a local, keep an eye on the updates – they announce when the sea turtle releases will be happening). Nesting season is typically April to September. I’ve taken my kids to this and they LOVED it! Imaging seeing a WHOLE bunch of tiny baby sea turtles trying to scramble their way to the water. It is phenomenal! You DO have to get everyone up early and out the door – it’s half an hour from the mainland and the release is at sunrise. But amazing, FREE, and a once-in-a-lifetime experience! As long as we’re on the subject of aquatic wildlife… the Texas State Aquarium is a must see. It is amazing! From the dolphin show to the shark tanks that you can walk underneath, it is an extraordinary aquarium and well worth the money (it’s spendy – expect that!). If it’s summer, there is also a really cool splash park at the end that even the big kids enjoy! Make sure to have everyone wear their swimsuits under their clothes and have towels waiting at your vehicle. If you’re looking for another FREE attraction, we really enjoy the Art Center! Beautiful galleries and free to visit, you can spend a quiet afternoon touring. AND… see something you like? It’s probably for sale. This place has the feel of a museum, but the artists are mostly local and the work is outstanding and offered for sale. The Art Center is a non-profit and often has weekday and weekend FREE art activities for families in the summer. It’s DEFINITELY worth checking out! If the weather is nice and you’re looking to spend the morning or afternoon outside, then I highly recommend the South Texas Botanical Gardens. The entry fee is reasonable and the gardens are beautifully maintained. They have peaceful trails, a playground, an amazing butterfly exhibit, and much more! Bring your camera and take pictures of your kids in this scenic wonderland! Finally, one of our family favorites is the Oso Wetlands Preserve – with great hiking trails and overlooks, an education center, and a REALLY COOL playground, it’s a staple for our family. There are acres of paths and plenty of wildlife to spot. And the learning center has some fun exhibits – all interactive. In fact, if you head into the learning center before your hike, you can borrow binoculars! It’s a really fantastic place and, incredibly, it’s also FREE!!!
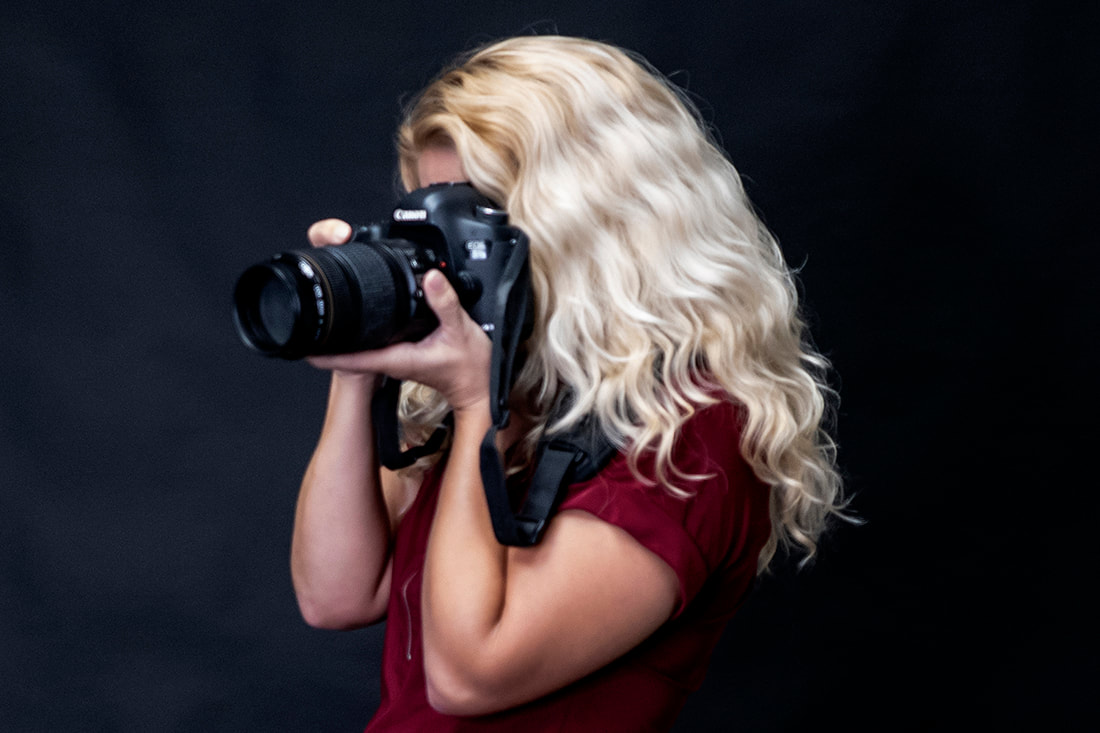
As a mother of four, I’m always on the lookout for things to do to keep my kids well-rounded and entertained. These are definitely some of our favorites! I’ve included links for the places I’ve mentioned – each one will give you all the information you need to plan your afternoon, or if you’re coming from out of town, your visit. And here’s a shameless plug… if you fall in love with one of the places and would like your family portraits taken there, get in touch! On-location family sessions are the BEST :D www.wetsilver.com For more information on the places mentioned in the blog: For more on Padre Island National Seashore go to https://www.nps.gov/pais/index.htm For more on the Kemp’s Ridley Sea Turtles go to https://www.nps.gov/pais/learn/nature/kridley.htm For more on the Texas State Aquarium go to https://www.texasstateaquarium.org/ For more on The Art Center of Corpus Christi go to https://www.artcentercc.org/ For more on the South Texas Botanical Gardens go to http://www.stxbot.org/ We all want beautiful images and we want them to be in focus. Sometimes it’s not a focusing issue so much as not holding your camera steady. So how do you keep your camera steady? What if you have shaky hands? Well, it truly is all in how you hold it. Let’s talk about real cameras with lenses. First things first, you need to keep the camera braced. I’ve seen many people hold a camera on both sides. This does not support the camera. You need to keep your right hand on the side of the camera and your fingers on the buttons. But your left hand needs to support your camera. Place it under the lens to support not only the camera, but the lens.
Secondly, you need to brace yourself. Think of yourself as a human tripod – your job is to support the camera and keep it steady. You can do that if your body isn’t braced. So think about how best to brace your body.
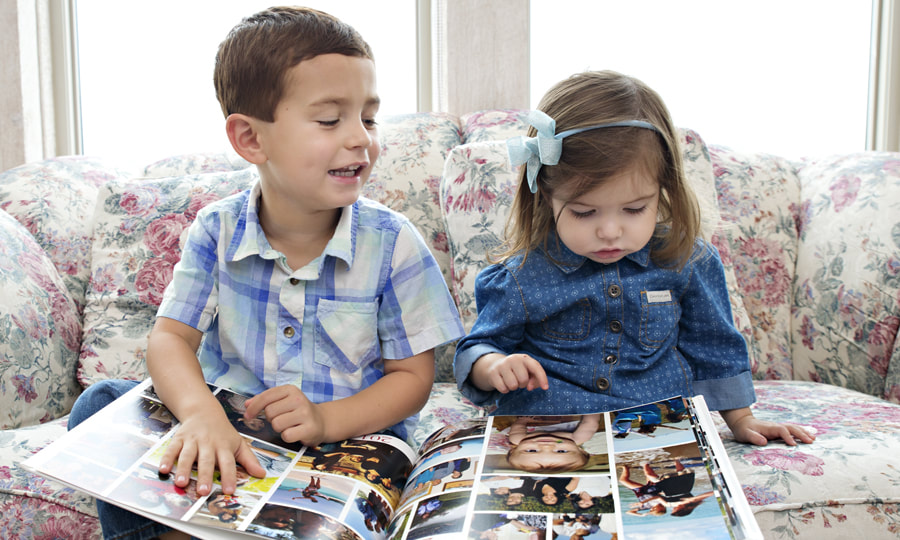
These things methods will help you hold your camera and your body steady, but there are a few additional things you can do to ensure you don’t shake the camera when you press the shutter release (the “picture taking button”). First, check your breathing. For a steady trigger finger, you snap the shot on your exhale. Really want to get it perfect? Breath in, breath out. Click. Pay attention to your breathing and when you breathe out and stop, right before inhaling… THAT is when you snap the picture. Story time: When I was in the Army, we had to learn the fine art of weaponry. I’d been shooting guns my whole life, so I thought I knew something. Nope. One of the first things they did was to separate those who grew up with guns from first timers. The first timers were easier to teach, you see. No bad habits to break. You’ll find this is true with photography, or anything you’ve done before, but are trying now to learn best practices. So be patient with yourself. Oh, and when do you pull the trigger on a gun? Same as a camera: when you breathe out and your breathing pauses. Finally, what if the wind is blowing hard, you’re tired, or some other element is making all of this difficult? Brace yourself against a wall, set your camera on a ledge, of find some other immobile object to help steady your situation. Sometimes is helps to kneel down on one knee and brace your camera arm (left arm) on the other knee. Happy Snapping! How long has it been since you’ve updated your headshot? More than two years? Then it has been too long! If it has been less than two years, but your appearance has significantly changed, then you still need to update. We want people to recognize us as we are NOW – not what we looked like years ago. If you’ve changed your hair style or color, changed your facial hair, lost or gained more than ten pounds, or any other thing that dramatically effects your ability to be easily recognized, then it’s time to get a new headshot. Your headshot is your introduction. It should look like you on your best day, but it still needs to look like who you are NOW, not who you were five years ago. Want to know more? Take a look! 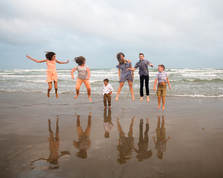 You’ve been preparing for months! You booked a portrait session, you planned the outfits for your entire family, you had your portrait session and now you are super excited about seeing your images! Now what? What is your plan for those images? If you’re like many people, you know it’s time for updated pictures of you and your family. You don’t want to miss those milestones and you value portraits – you love having professional images taken that wow you every time you look at them. But in this modern age, what do you do with the images? Many people hire a photographer and just want digitals. But why? So they can sit in a drawer or a safe on a USB? What’s the point of that? The purpose of an image is to view it – to look at it and remember, to feel, to enjoy.  When I was a child, we had so many picture albums! My siblings and I used to sit together, looking through them, asking our parents about people in the pictures, listening to the stories of those people, or the stories of us. Those pictures opened the door for those stories. How many of you are giving your own children that experience? In the days of film, there was only one way to see your pictures: you printed them. And once printed, they needed to be stored. Hence, the album. But folks, it’s not too late! And albums have come a long way! Albums are but one of the many ways of seeing your images. My favorite way to view images is by making them into wall art. I LOVE providing my clients with beautifully matted, framed images of their families. I love knowing that they will see that image every time they walk into the room. As your children grow older, you will see them as they were in that moment. And you’ll have memories. And you’ll share those memories as they occur.
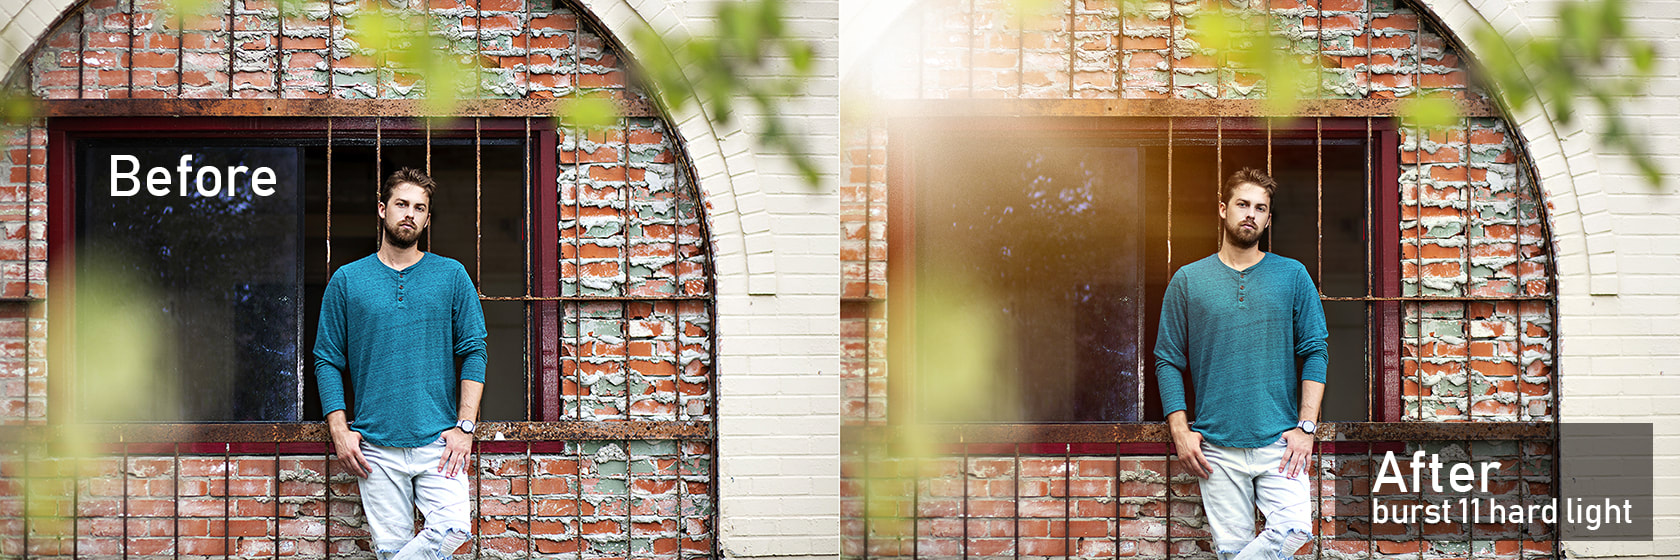
So, I got an email from MCP Actions and it was like a blast from the past! This company has been around a long time and it’s nice to know they’re still thriving. Some of the first actions I used were some of theirs and that was over a decade ago! Now I’m a full time professional photographer and I make my own actions and sell them. I collect images I take of skies and horizons and I make my own overlays. I’ve learned so much and have come such a long way… and it benefits my business, but it comes with few accolades. But I got an email that said, “You have a great eye and your photos are gorgeous! We would love to see what you can do with this preset on some of your upcoming shots!” They gave me a choice of presets or overlays. I chose some really cool overlays – the “MCP Sunshine Overlays.” (If you're interested, you can purchase them HERE) I don’t offer anything like that, so it seemed like a fun choice and a creative thing to play with. I was right! Really cool! It’s funny… I RARELY use overlays in my work. And the only time I use sky overlays is when our skies look bland, which is rare in South Texas. But playing with these fed my creativity. It reminded me that there are so many options for each image… the outcomes are limitless! Want to see some before and after images using some of the overlays? I made a cool video, and there is even a bit of a tutorial toward the end. Wet Silver Photography | Corpus Christi TXI spend a lot of time talking to seniors and getting to know them. Most are excited about graduation and wonder what the world has in store for them. For many, graduation will be their release into the world, often the first time they’ve been living on their own.
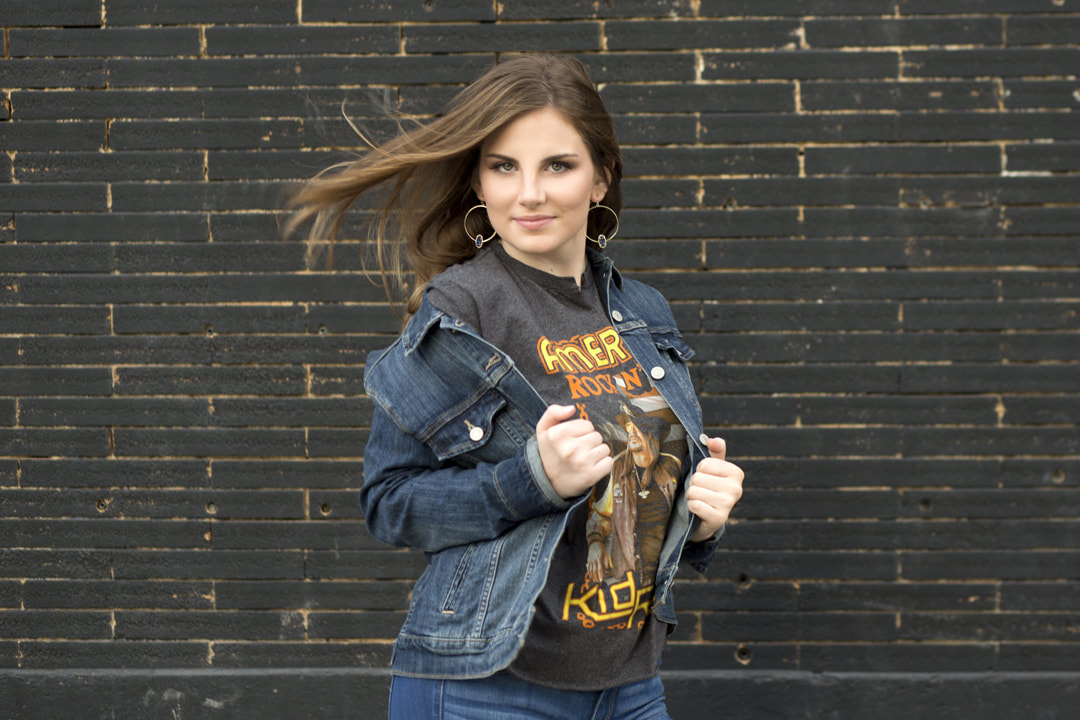
I love capturing images that will remind them of their journey, but I love hearing about their thoughts concerning the road ahead. I listen. Some things they tell me, and other things become clear without having to be said aloud. Are you wondering what to give your senior for graduation? Maybe I can help… Sometimes you know EXACTLY the right thing – it’s something they’ve been needing or wanting and maybe you’ve already purchased it and have it waiting. If you DON’T know what to get your graduate, then you’re in the majority. The needs of young adults vary, as do their interests. But here is a list of the top five, guaranteed-to-please graduation gifts!
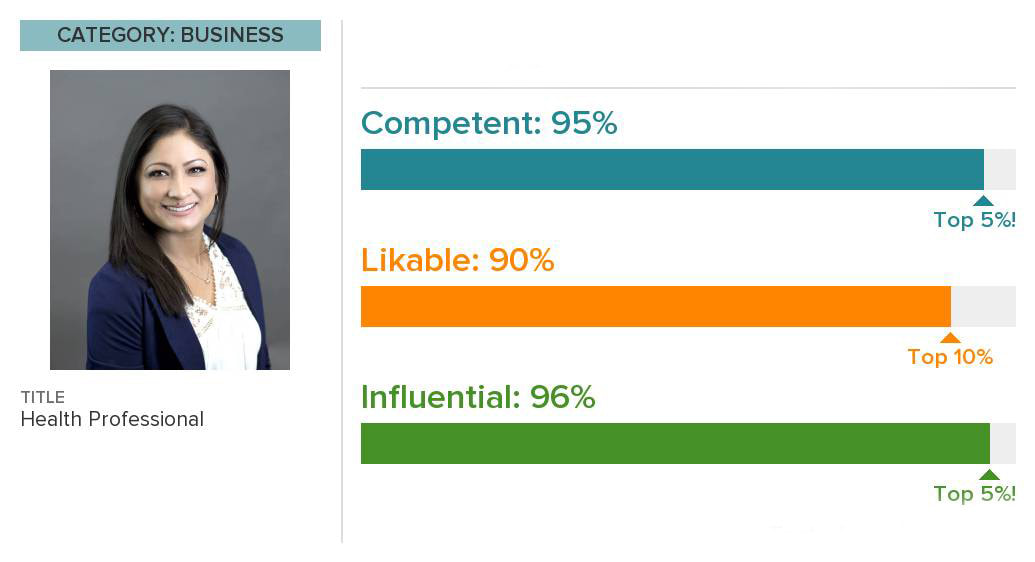
If you found value in this article, please leave me a comment. Thank you so much for reading! Lori All of the above images were taken with my cell phone and cropped to be about the same size, making for a smooth comparison. Folks, let's talk about selfies... 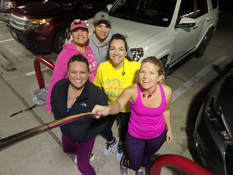 I am constantly explaining to anyone who will listen… you do NOT look like your selfie! Check out your feed from any social media platform and examine all the selfies. Those pictures are taken close to the face and they are seriously distorted. The current trend is to get your eyes closest to the phone to make sure they look huge! You’ve seen this, right? The problem comes when your nose is actually the closest thing to the camera. The closer your face is to the camera, the more distortion your image will have. Period. Whatever is closest will appear the largest. Your nose will ALWAYS look bigger than it is in a standard selfie. Always. I read a fantastic article in Newsweek and it explained that more people are getting nose jobs because they don’t like the way they look in their selfies. What?!? Oh my gosh, y’all… we have GOT to educate ourselves! Your nose appears about 30% larger in a selfie. That’s a HUGE disparity between image and reality! This excerpt really stood out to me… “In January, a survey by the American Academy of Facial Plastic and Reconstructive Surgery (AAFPRS) found that 55 percent of plastic surgeons said that their patients requested surgery to enhance their face to look better for selfies in 2017, while only 13 percent claimed to have executed a selfie-related surgery in 2016.” So what’s going on? People are taking a standard selfie and the camera is about a foot from their face. There are simple solutions… my favorite is the selfie stick. It’s awesome, even if your running buddies tease you about it… then all admit they secretly love the effect. It gets the camera away from you. And what is optimal for an accurate image? About five feet away. The selfie stick can do this. But what if you don’t have a selfie stick? Put your camera on a timer, set it down, and step back. Or grab the nearest person and have him or her take the picture for you. Want to see how it should be done? Check out THIS VIDEO that I made a while back for a different blog post. But let me tell you what you should NOT do… you should not look at an image taken from a foot away and think it’s an accurate depiction of your face. It is not. Much love, readers. ~Lori 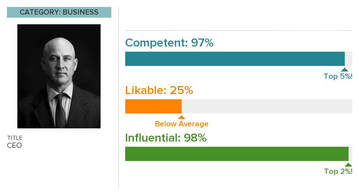 What is your goal? If you’re looking to take a new business headshot, you have to first determine your purpose. Most people come to me and tell me they need a new headshot. That’s all they know. The one they’re using is either outdated or unprofessional and they are ready to upgrade. But there is more to a professional headshot that simply a photograph – you need to realize that you are conveying something about yourself to your viewer. So what is it that you want to show everyone? There are three basic things you can convey with a profile picture: Competent, Likable, and Influential. Folks, I have to tell you… you can do well in all three categories, but depending on your pose, clothing, and expression, different categories will rank higher. So how do you pull it off? Mainly with your body angle and expression. Want to rank higher in influential? A smile is not necessary and may even lose you points. But if you don’t smile, you will NOT do well in the likable category. Want to look competent? Wear a suit jacket and get a professional headshot. Period. Easy day. So which category matters most? A lot of it depends on your career. We don’t care if our accountant is likable, but she better be competent. We don’t care if our pediatrician is influential, but he better be likable. Figure out what you’re trying to CONVEY. Then give me a call and let me do the rest. When I get clients in for studio headshots, I take a LOT of pictures of them at varying angles. Then I proceed to upload the images and look over them with my client. This either lead to a favorite image or a very clear understanding… We ALL have a preferred angle. Sometimes my client is able to choose a favorite, I edit it according to their specifications, and we’re done.
But sometimes, looking over the images leads us to a conversation and an understanding – we ALL have a “best” angle for us… and it’s unique. After looking at the images, if a client is unhappy with all of them, my client knows exactly why and we do it again… we always get their idea of perfection the second time. They’ve had time to evaluate and work their best angle. Why am I sharing this? Well, because I have my best angle, too. I have awful angles and pretty angles. My nose isn’t small and it has a bump, which can make it look larger than it is at the wrong angle. I love my bump and wouldn’t change it, but I’m being realistic here. Also, I love my jawline (thanks, Mom!). When possible, I like for it to show. Oh, and my teeth. Despite braces in my teens, my teeth have shifted and I have one in particular that makes me feel insecure (I WILL fix it one day, but today is not that day). It is inset slightly and shadows in an ugly way at the wrong angle. So what do I do? I aim THAT tooth at the camera so there won’t be any shadows on that tooth. And I like my face tipped slightly upward… because jawline. See? I have preferences. It is truly what helps me empathize with my clients. And people I know would never think the same things about me that I just shared with you… we are our own worst critics. But that doesn’t change the facts. We all want to share an image of ourselves that makes us feel attractive. Me too!!! So, without further ado, here are my tips…
~Lori |
"Lori is an exceptional photographer, and was my first choice for capturing images of my son for his senior pictures!! She made him feel at ease immediately, traveled to the locations he was interested in, and captured who he is perfectly!" ~ Tonia R.
AuthorLori Stead is a fine art portrait photographer in Corpus Christi, TX. She enjoys creating maternity, newborn, seniors, couples, family, children, and boudoir portraits. She is also a wife, mother of four, and adventurer. Archives
February 2024
Category
All
|
For the ultimate in fine art portraiture, call Lori Stead, photographer - Wet Silver Photography 361-445-4661
|
Wet Silver Photography
Proud Member Professional Photographers of America |
Copyright 2023, Wet Silver, LLC
|



 RSS Feed